Looking Back at the Unity Games I've Made So Far — Part 2
Looking back at four games where I experimented with controls, enemy AI, and game balance, and summarizing what I learned from making seven Unity games.
Continuing from Part 1, I will be looking back at the Unity games I have made so far.
In Part 1, I introduced my first three games, where I learned the basics of Unity through hands-on tutorials. In Part 2, I will look back at games four through seven, where I gradually began experimenting with more original ideas and control systems.
Game 4: "Armor Breakers"
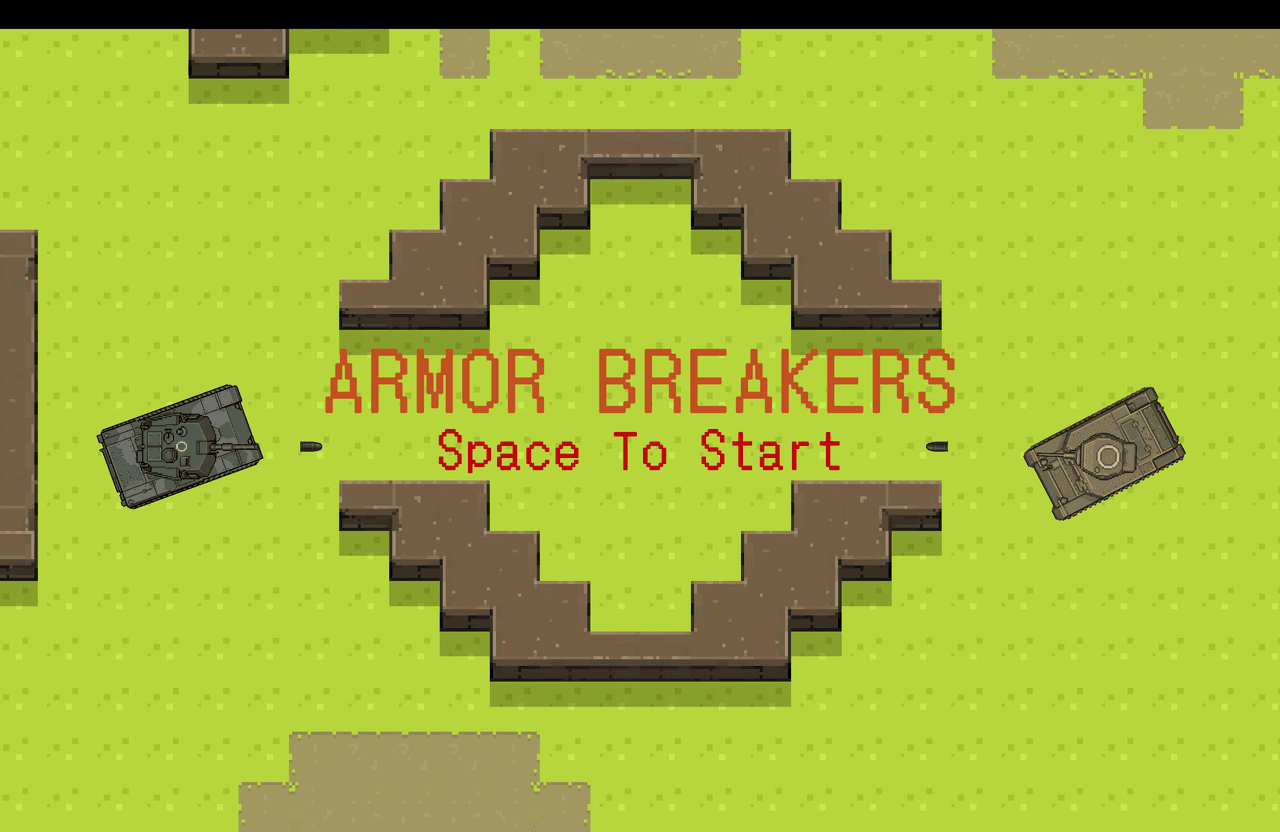
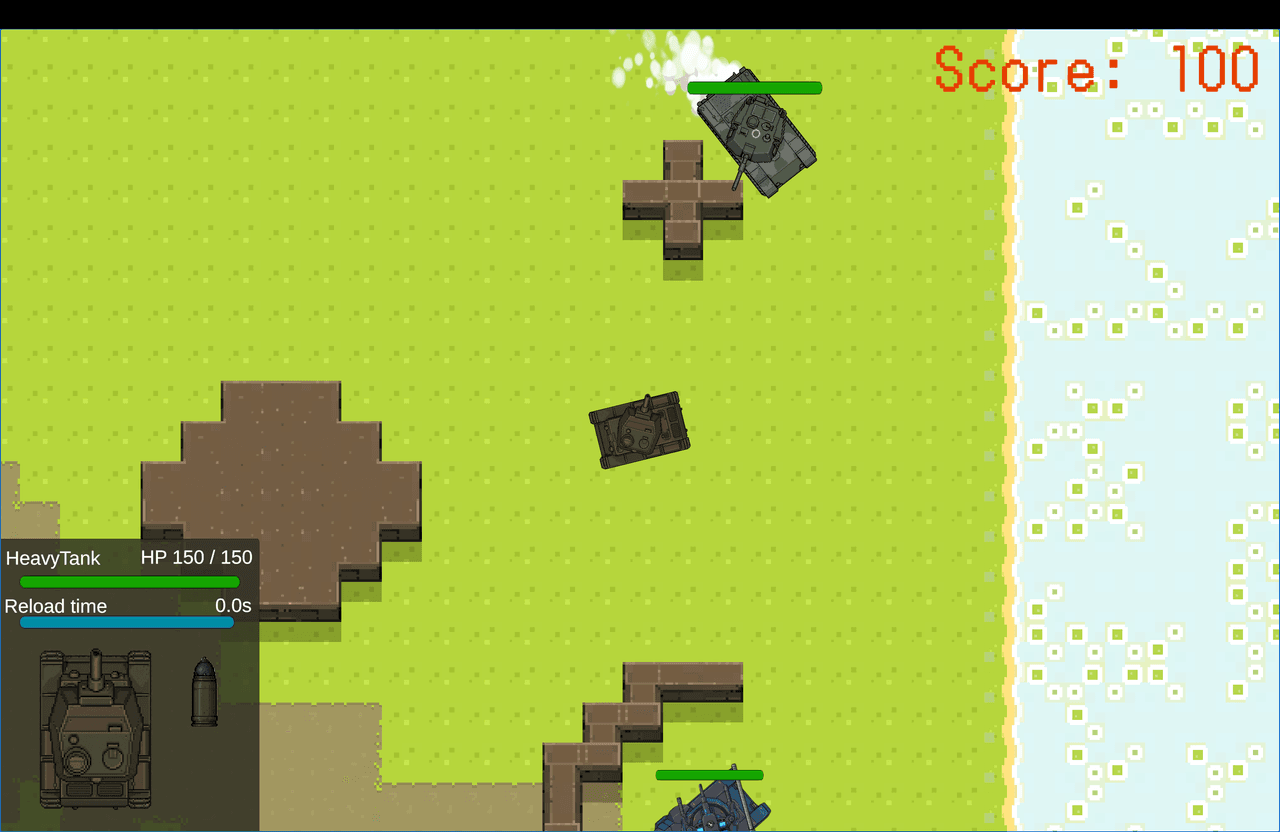
"Armor Breakers" is a top-down tank battle game in which the player controls a tank and fights against enemies.
The reason I made this game was very simple: I liked a game called "World of Tanks."
I wanted to try making a game featuring tanks myself, so I created this project.
What I Focused on in This Project
There were three areas I focused on in particular:
Generating images with AI
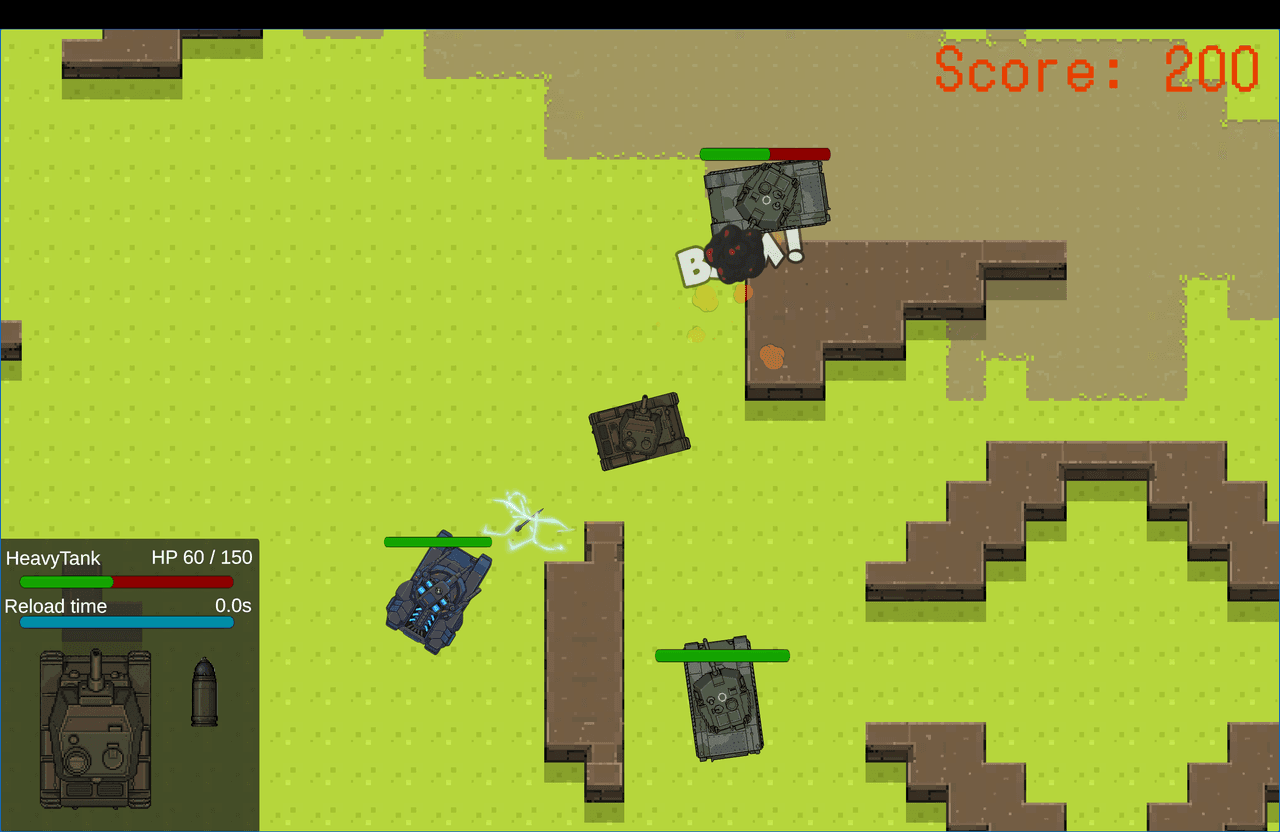
Using explosion effects to make attacks feel more impactful
Creating enemy tank behavior with raycasts
Generating Images with AI
Once again, I had difficulty finding free assets that matched the image I had in mind for the game, so I generated them using Gemini's Nano Banana Pro.
The main sprites I created with image generation were the tanks and projectiles.
To keep the visual style consistent throughout the game, I first asked AI to write an image-generation prompt. Using that prompt, I created five different tanks and their projectiles.
I generated each tank's body and turret as separate parts, then combined them in Unity. Separating the parts allowed the turret to rotate independently from the direction in which the tank's body was moving.
The Importance of Effects
I had not used effects extensively in my previous games.
However, when I tried adding an explosion effect when a tank was destroyed, it became much easier to feel the impact of an attack landing. That single addition made the game considerably more enjoyable.
Even when the rules and systems remain the same, adding effects can change the satisfaction and sense of immersion experienced by the player.
I learned that effects are important not only for making a game look more impressive, but also for communicating the state of the game to the player.
Enemy Tank Behavior Using Raycasts
I used raycasts to automate the enemy tanks' movement and attacks.
The basic mechanism is similar to the Physics2D.BoxCast I used for ground detection in my first game. A ray is cast in front of the enemy tank, and if it detects a wall, the tank changes direction.
A simplified version of the process looks like this:
RaycastHit2D hit = Physics2D.Raycast( frontSensor.position, transform.right, sensorLength);if (hit.collider != null && hit.collider.CompareTag("Wall")){ // Turn when a wall is detected transform.Rotate( 0, 0, avoidTurnSpeed * Time.deltaTime );}else{ // Move forward when there is no wall ahead transform.Translate( Vector3.right * moveSpeed * Time.deltaTime, Space.Self );}
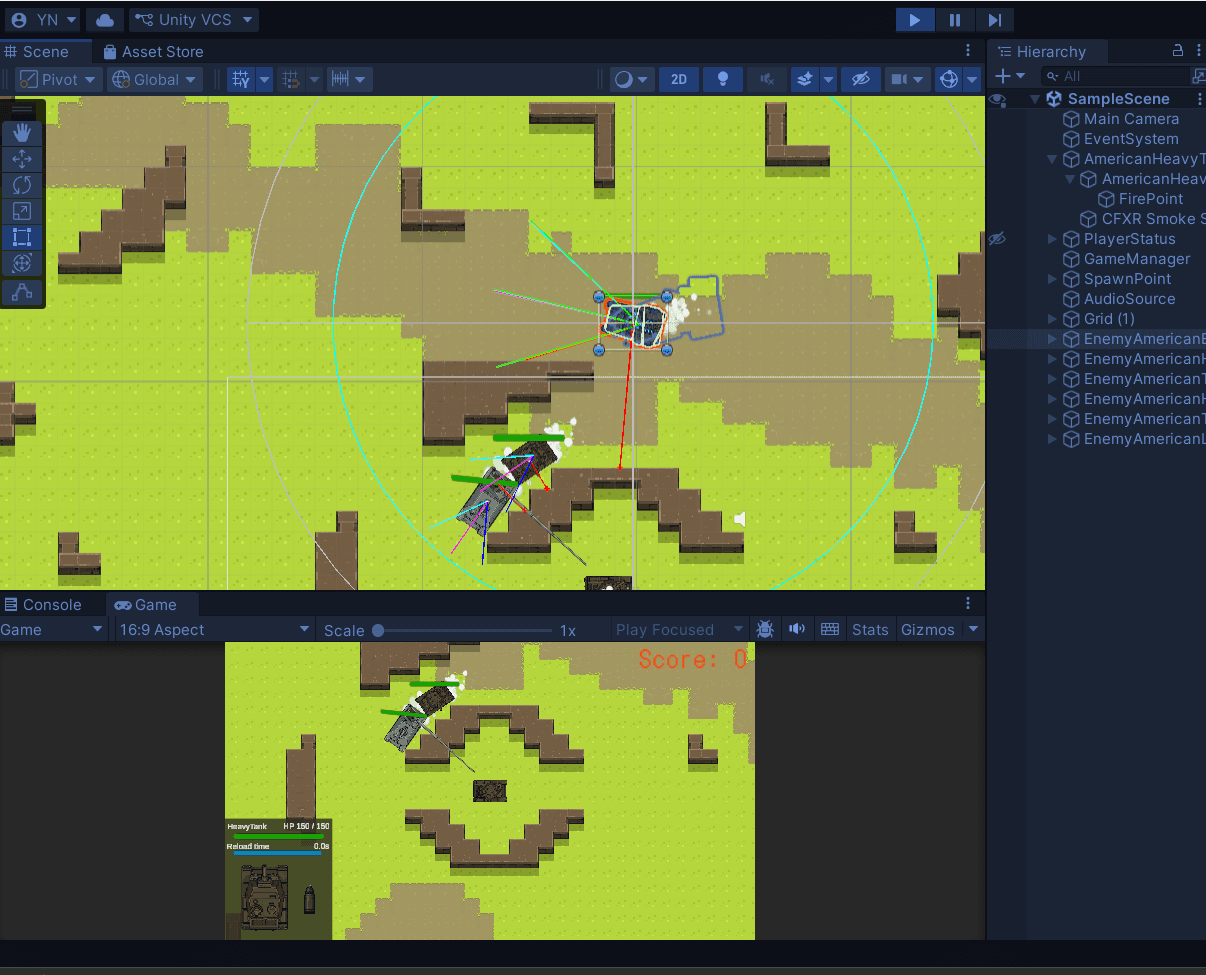
The image above shows two circles centered around the enemy tank.
The inner circle represents its detection range. When the player enters this area, the enemy tank switches from patrol mode to chase mode.
The outer circle determines when the enemy has lost sight of the player. Once the player moves outside this circle, the enemy switches from chase mode back to patrol mode.
By separating the range that begins detection from the range that ends it, I prevented the enemy from repeatedly switching between patrol and chase modes near the boundary.
The three rays extending from the front of the tank are used to avoid obstacles. I also cast a ray from the turret and made the tank fire a projectile when the player was detected along that ray.
Being able to apply the raycasts I first used for ground detection to the movement and attacks of enemy AI made me feel that I had grown as a developer.
Looking Back
I put a lot of effort into the visuals and enemy behavior, but I think I could have developed the goals that encourage players to keep playing in more detail.
For example, a system that unlocked new tanks based on the number of enemies defeated might have given players a reason to continue fighting and made the game enjoyable for longer.
I needed to think beyond the basic action of controlling a tank and defeating enemies, and consider what longer-term goals the game should offer.
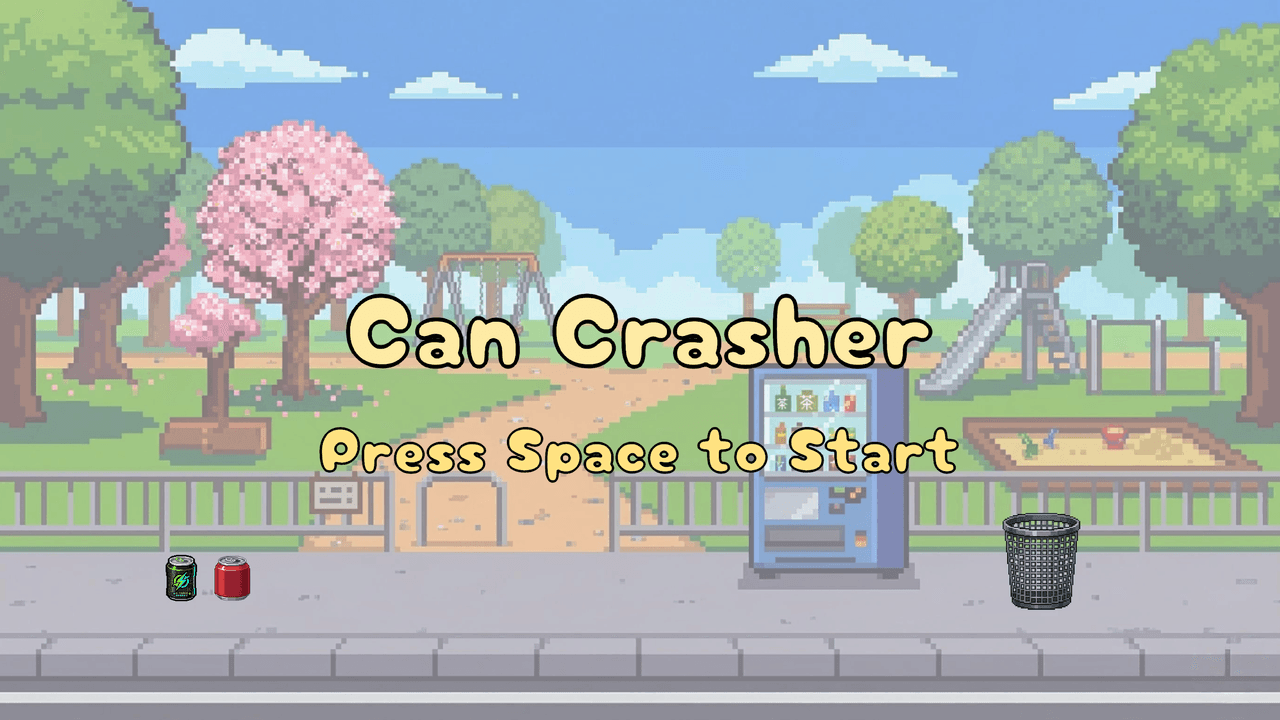
Game 5: "Can Cracher"
My fifth game was "Can Cracher."
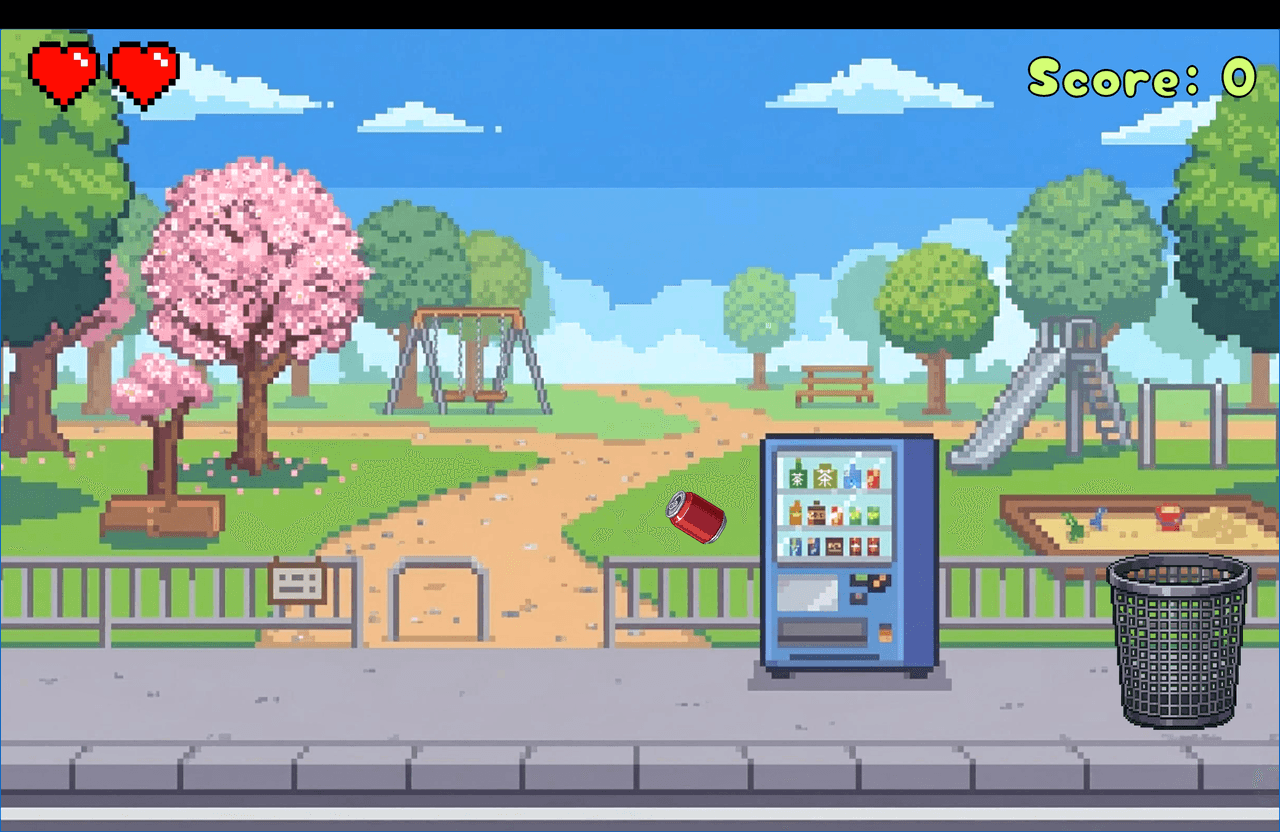
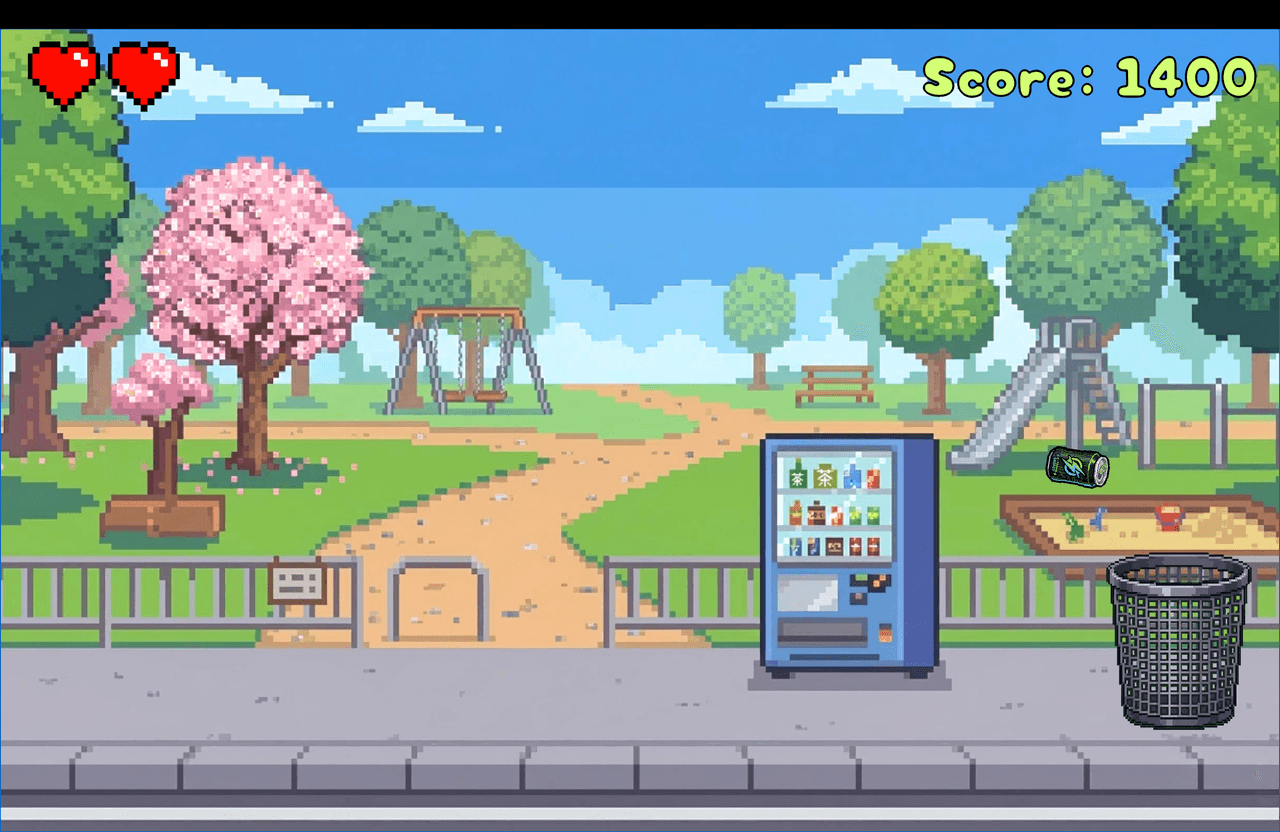
In this game, empty cans fall from the sky. The player clicks them to launch them upward and tries to land them in a trash can.
Even if I say so myself, I think I managed to create a fairly unique game.
As the level increases, the maximum height to which the cans can be launched becomes lower, gradually making it more difficult to get them into the trash can.
While making it, I was worried about whether it would actually be fun. Once it was finished and I played it, however, it turned out to be more enjoyable than I had expected.
Controls That Change Depending on Where You Click
The key to this game is how it feels when you click an empty can.
Rather than making the can fly in the same direction regardless of where it is clicked, I made both its direction and rotation change according to the click position.
void OnMouseDown(){ Vector2 clickPos = Camera.main.ScreenToWorldPoint(Input.mousePosition); // Difference between the center of the can and the click position float xOffset = transform.position.x - clickPos.x; // Launch the can in the direction opposite the click Vector2 direction = new Vector2( xOffset * sideForceMultiplier, upForce ); rb2D.AddForce(direction, ForceMode2D.Impulse); // Add rotation based on the click position rb2D.AddTorque( xOffset * torqueMultiplier, ForceMode2D.Impulse );}
When the player clicks to the right of the can's center, the can flies to the left. When the player clicks to the left, it flies to the right.
The direction of rotation also changes depending on the click position.
Clicking the right side of the can makes xOffset negative, causing it to rotate clockwise.
Clicking the left side makes xOffset positive, causing it to rotate counterclockwise.
Even a slight difference in the click position changes the can's trajectory, so aiming it at a specific location requires small adjustments.
I learned that even simple click controls can feel game-like when the position and direction of the applied force are taken into account.
A Display Problem in the WebGL Version
One thing I should have handled better was checking how the WebGL version appeared after publishing it.
I had been developing on Windows, so I did not notice the problem during development. However, when I embedded the WebGL build into a website using an iframe and opened it in a browser on a Mac, the aspect ratio was incorrect and both sides of the game screen were cut off.
In this game, being unable to click a can that has moved to the edge of the screen is a critical problem. If the edge is cut off, the player can no longer interact with a can that moves there, making it impossible to continue playing.
Even when the game itself works correctly, the page on which it is published or the way a browser displays it can make the game unplayable.
I now own a Mac as well, so in the future, I want to make sure that I test a game on multiple environments and screen sizes before publishing it.
Game 6: "Meteor Frontier Runner"
Only two games left.
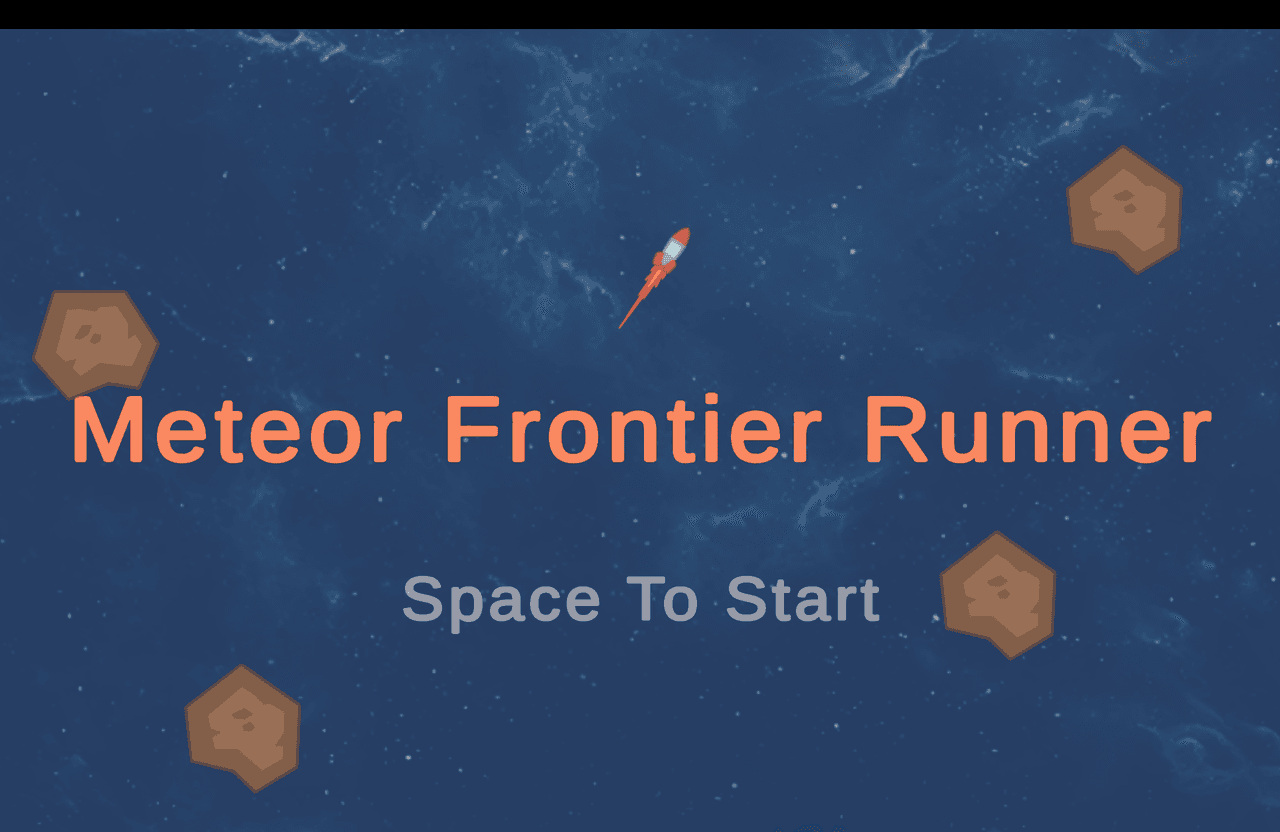
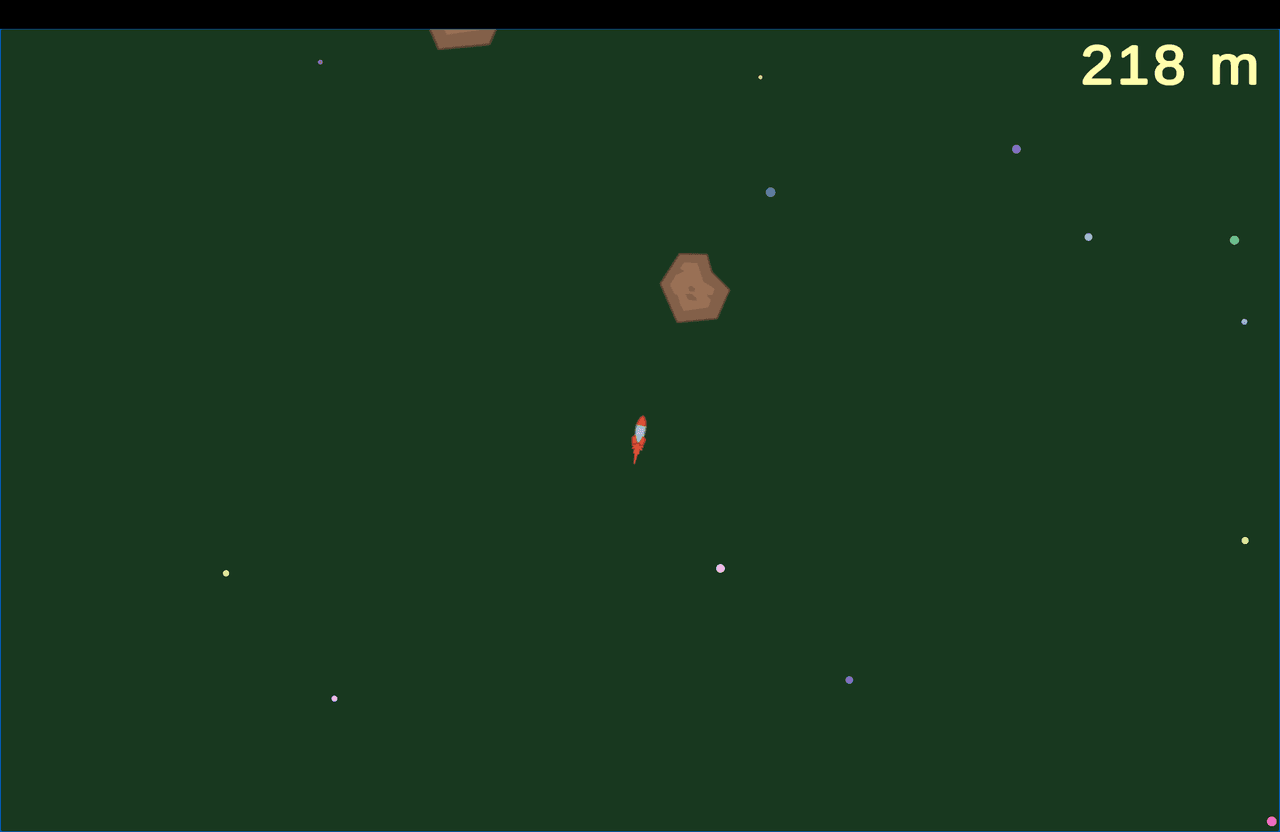
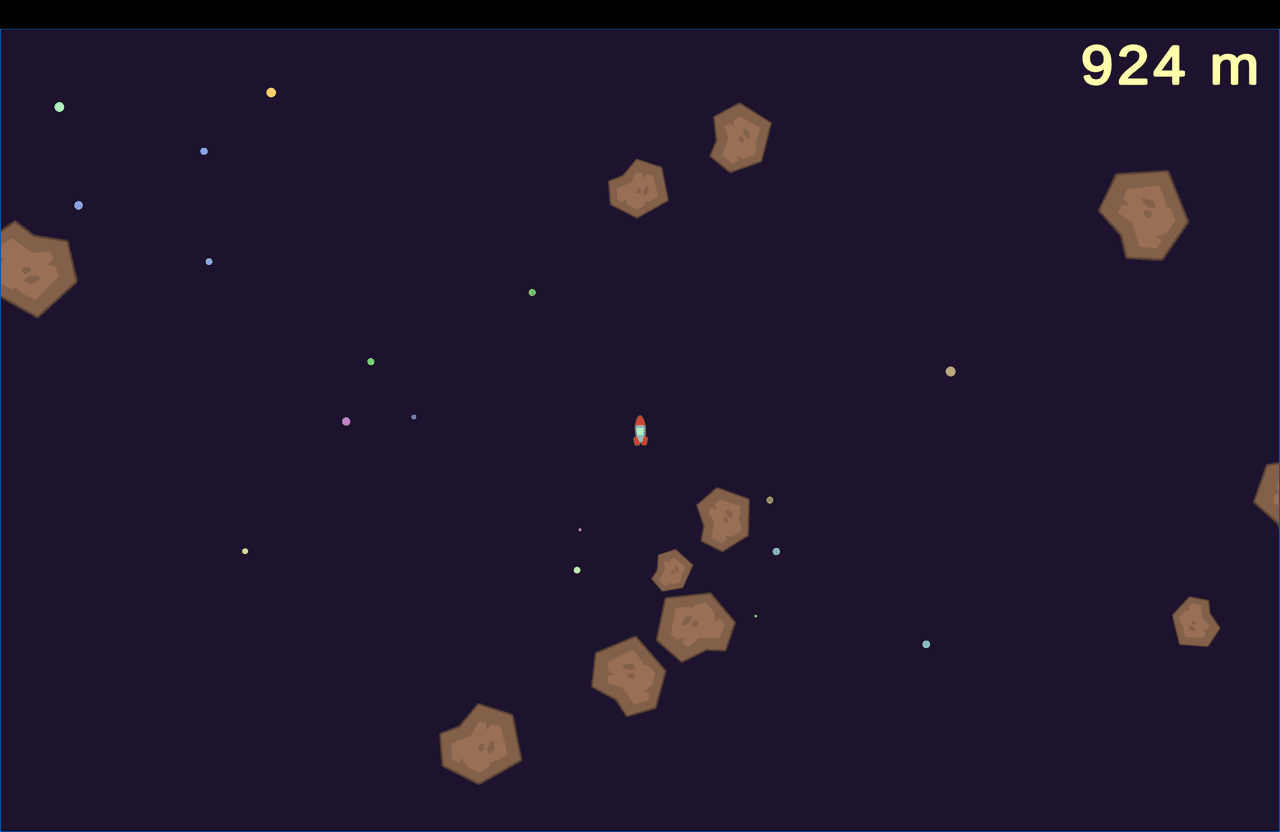
My sixth game, "Meteor Frontier Runner," is an endless runner in which the player controls a rocket and keeps moving forward while avoiding meteorites.
The number of meteorites increases according to the distance traveled by the rocket, gradually raising the difficulty.
I was inspired to make this project by the Kenney 2D assets, which I found while searching for game resources.
While looking through the assets, I imagined a game involving a rocket and meteorites and developed the idea from there.
What Happened When I Started Without Settling on a Concept
Once again, I began development without deciding the details of the game in advance.
As a result, I changed the theme midway through development, undid things I had already made, and discarded another game idea. Even so, I eventually managed to shape everything into a complete game.
By the time I reached this project, I had begun running into fewer implementation problems than before. Part of that was probably because I was using AI to assist with implementation, but I also think I had become more familiar with Unity's basic controls and the structure of my code.
Still, being able to implement something and being able to make a game that people can play without confusion were two different things.
Not Enough Explanation for First-Time Players
The main problem with this project was that I did not provide enough explanation for people playing it for the first time.
There was no tutorial, which made the controls difficult to understand. Immediately after starting the game, it was also unclear which direction the rocket was moving.
As the creator, I already knew all the controls and rules, so I could play without any explanation. For someone encountering the game for the first time, however, not knowing the direction of movement or how to control the rocket could be a major source of frustration.
I did not necessarily need to make a long tutorial. Simply displaying the controls at the beginning or adding a visual cue to show the direction of movement could have made the game much easier to understand.
I realized that finishing the game was not enough. I also needed to check whether players could understand its rules within the first few seconds.
Game 7: "Monster & Panzer"
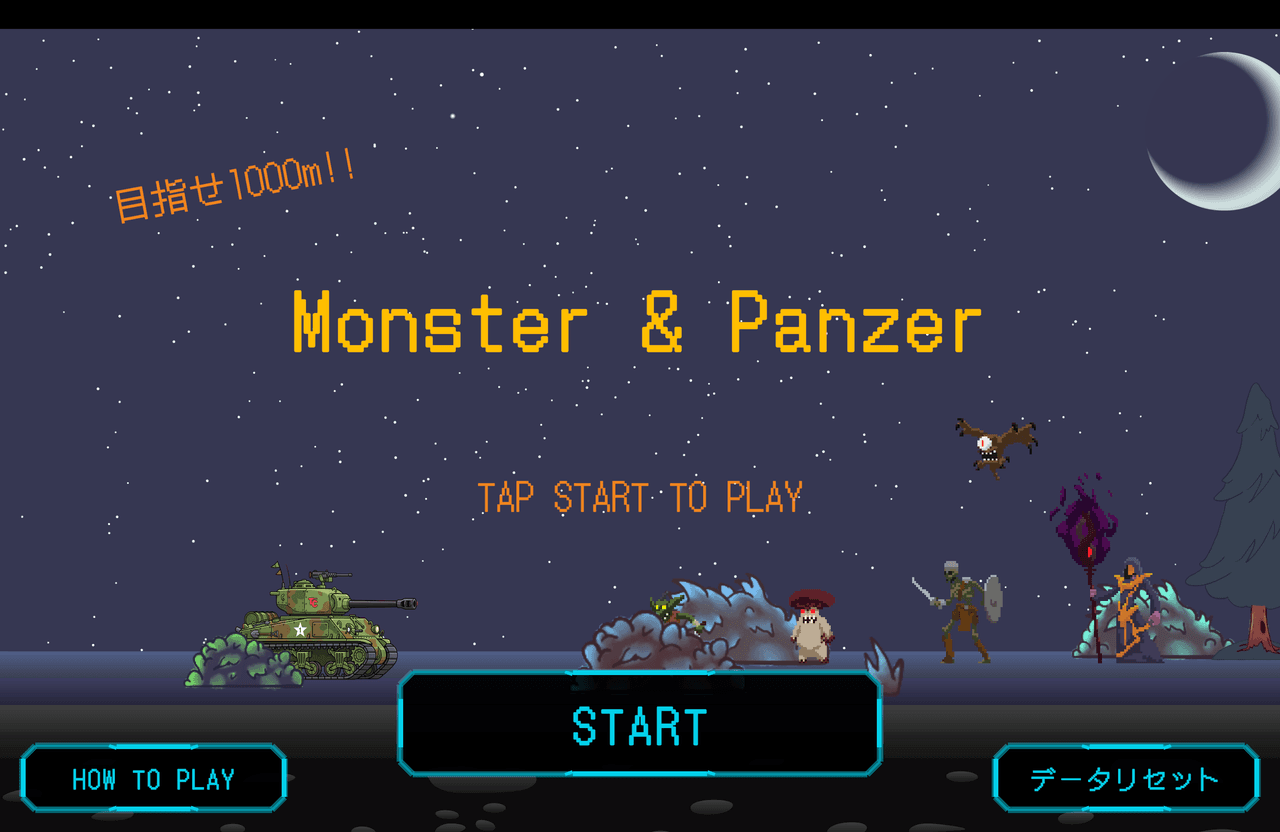
My seventh game was "Monster & Panzer."
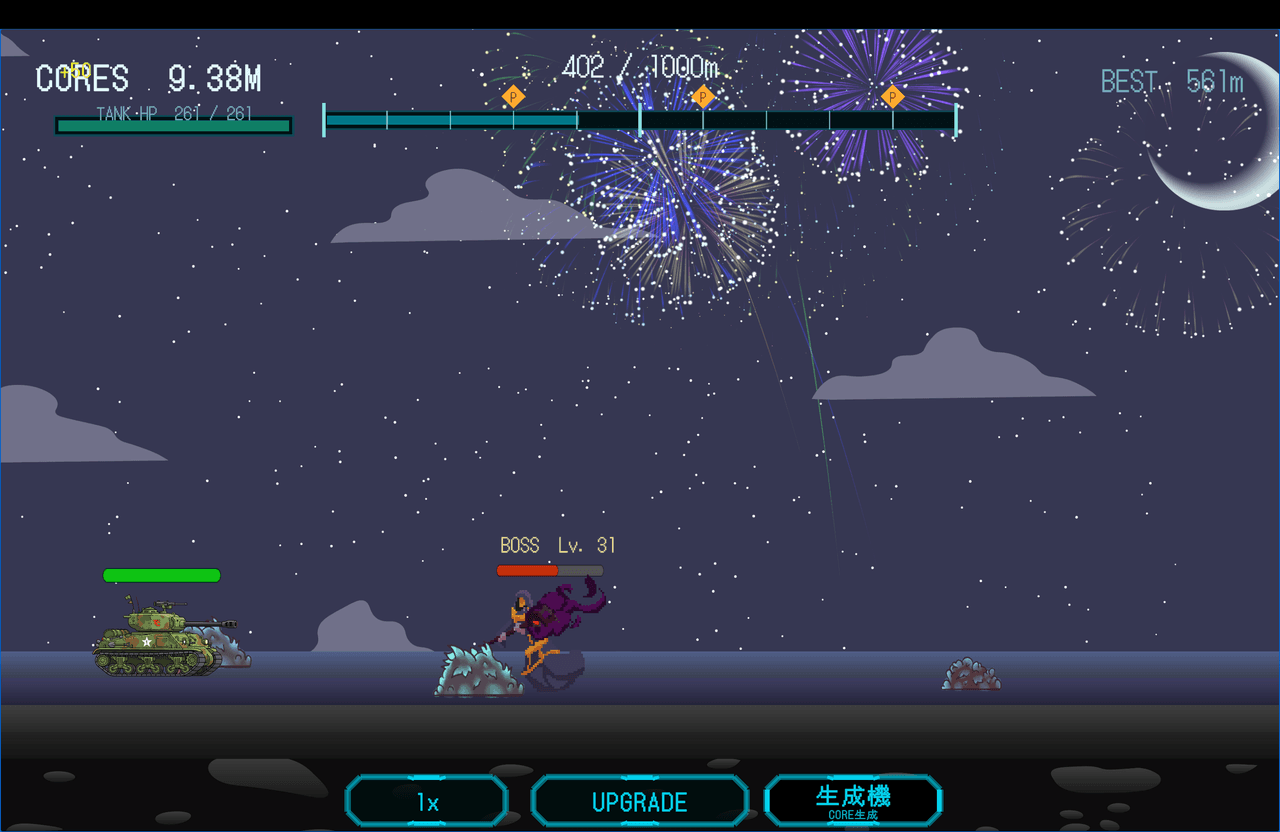
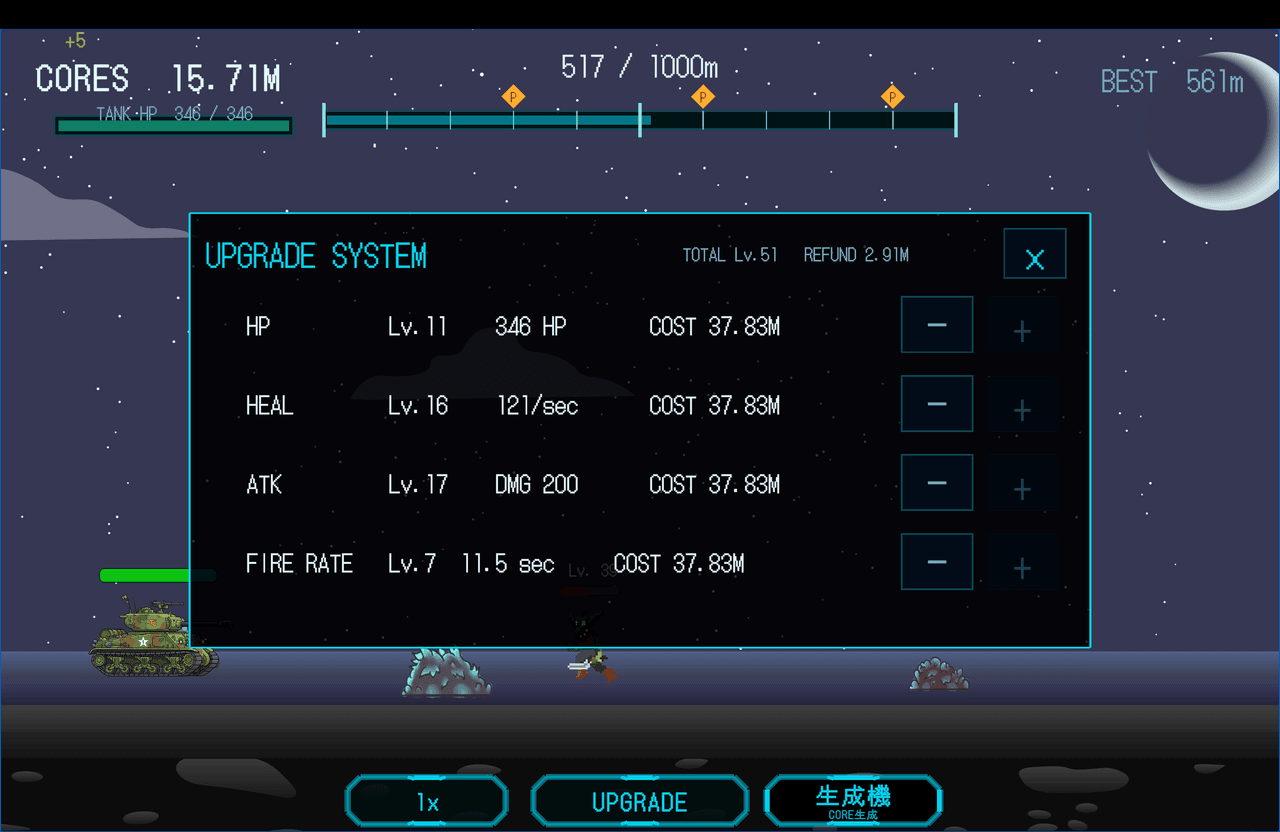
It is a 2D clicker game in which the player upgrades a tank, defeats monsters, and tries to reach the 1,000-meter mark.
This was one of the largest projects I had made so far, and it took around a month and a half to complete.
Game Balance and Playtesting
The most difficult parts of this project were adjusting the game balance and conducting playtests.
Unlike my previous games, "Monster & Panzer" contains a wide variety of statistics and parameters, including the tank's attack power, enemy health, and the cost of upgrades.
As the number of variables increases, each value has a greater influence on the game as a whole. Because of this, adjusting the difficulty was particularly challenging.
It also takes around 40 to 50 minutes to play the game from the beginning through to completion. This made it difficult to test the entire game whenever I made even a small balance adjustment.
The Repetition I Discovered Through Playtesting
When I asked a friend to playtest the first completed version of the game, we found a major problem.
The player had to keep clicking continuously until reaching the end of the game.
Because I had repeated the same action so many times during development, I had become numb to it and failed to notice how repetitive it felt.
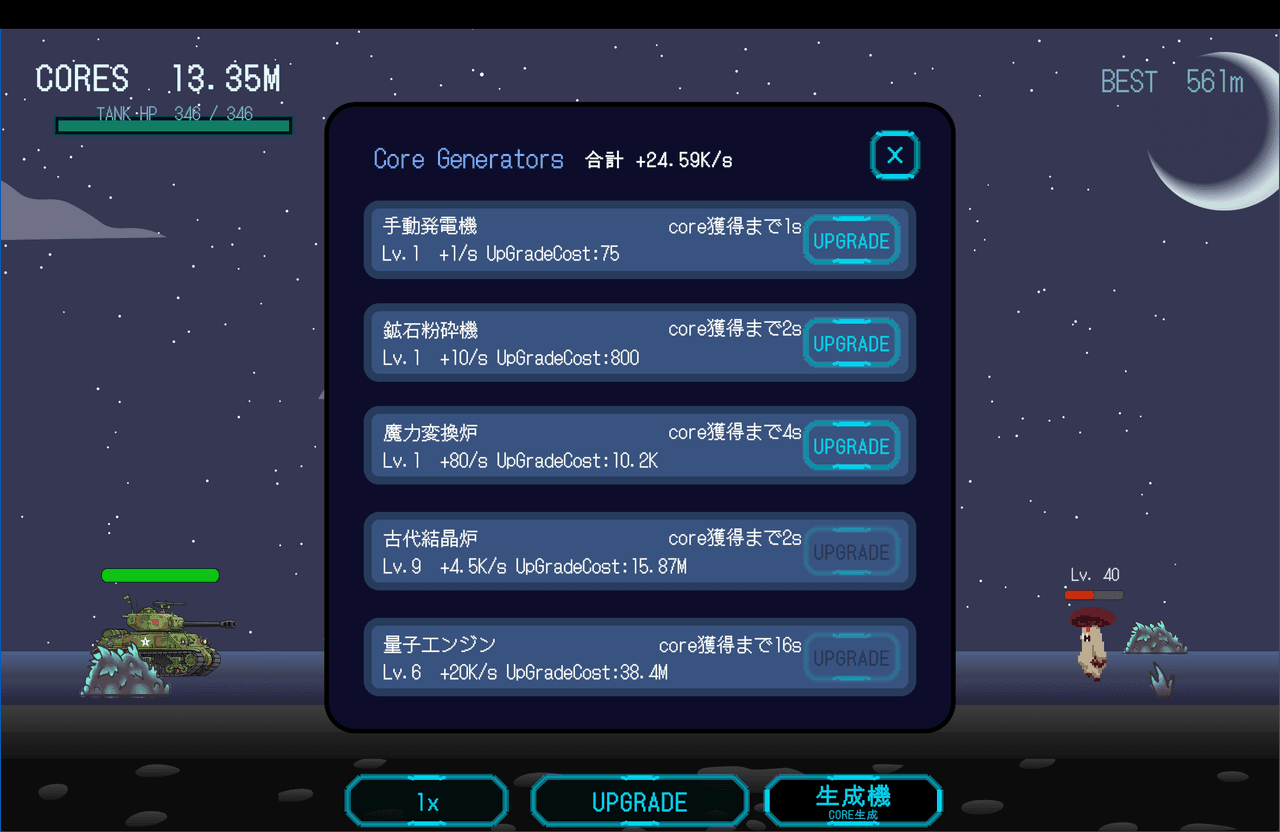
Based on the playtest feedback, I added several features, including devices that automatically generate in-game currency and a save system.
However, as I wrote in Part 1, I had not worked out the content and balance of the game thoroughly enough at the beginning. This resulted in a great deal of backtracking and reworking.
As I continued adding features, there were also times when I lost sight of the original game I had imagined and simply continued developing without a clear direction.
The Question That Remained Until the End
I was never able to completely solve the problem of repetition in this game.
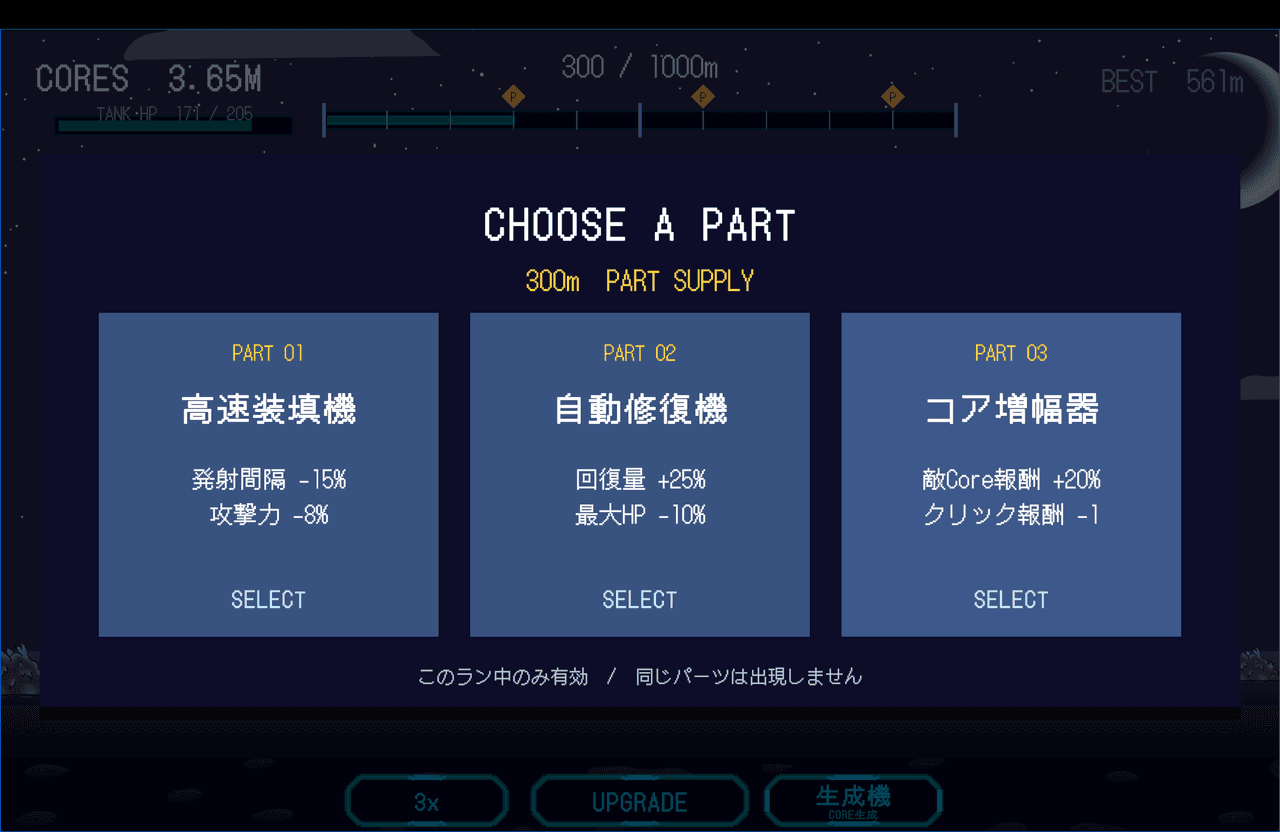
To create more variety, I added several checkpoints and features throughout the stages. Looking back at the finished game, however, it also feels as though I kept attaching new elements afterward whenever they became necessary.
Someone playing it for the first time might still have fun.
Even so, I was left wondering whether I had really made a game that remained enjoyable all the way to the end.
Completing the game was a significant achievement. However, finishing a project does not automatically remove the problems that its creator noticed along the way.
I want to remember this question when I make my next game.
Developing the Game with Unity MCP
During the second half of this project's development, I began using Unity MCP.
I currently use both Codex and Claude while comparing the differences between them. I tend to use Codex more often because of token consumption, but I feel that each has its own strengths.
Unity MCP allowed AI to operate the Unity Editor and perform tasks such as creating GameObjects and Components or changing their settings.
There are still areas where I feel it is better to make manual adjustments myself, particularly the exact positioning of UI elements and the player. On the other hand, when implementing features as individual Components, there were cases where I could create something of higher quality than I could have produced by myself.
A game will not be completed simply by leaving everything to AI. Depending on how it is used, however, I feel that it can become a powerful tool for supporting game development.
Looking Back at Seven Games
I have now made a total of seven games.
You could say that it is "only seven." Still, while making those seven games, I experienced many failures and spent a great deal of time confronting the things I had created.
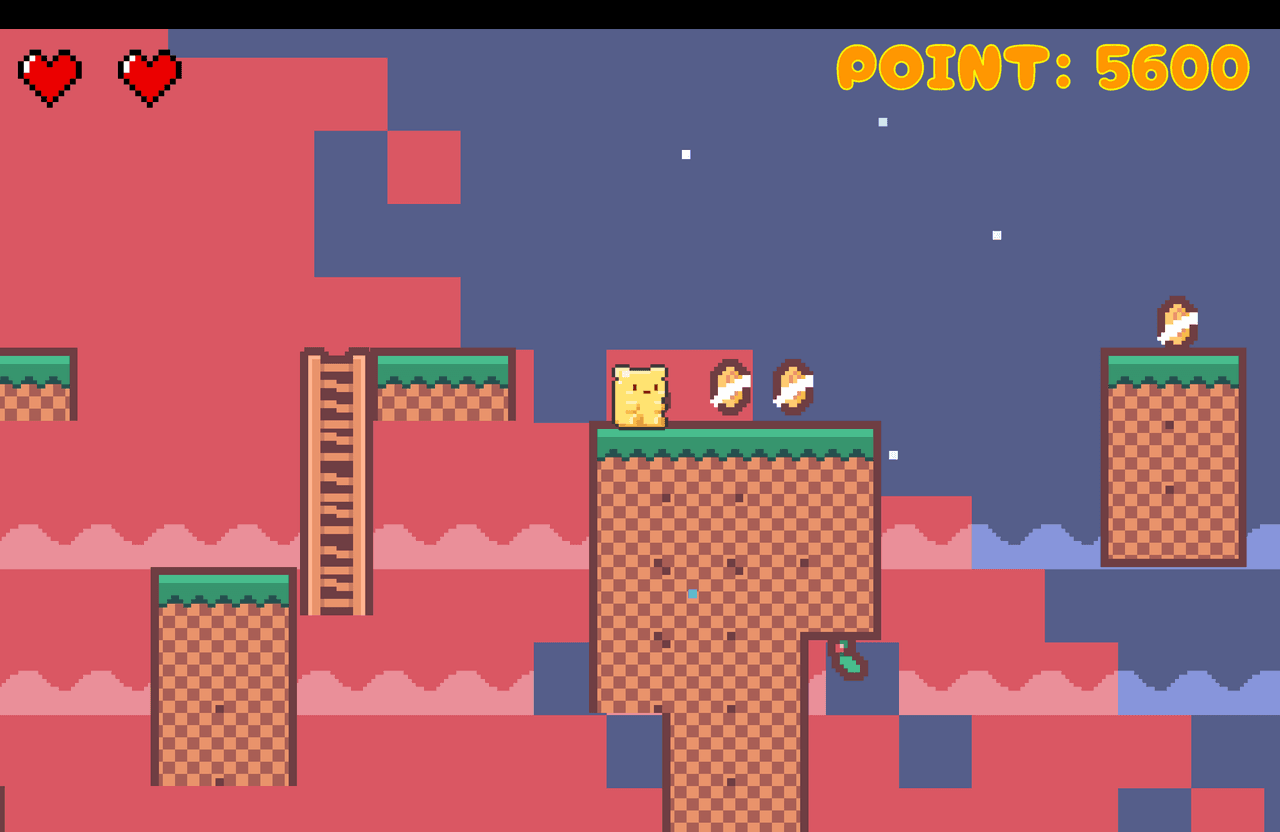
At first, I began by following hands-on videos and learning Unity's controls and basic implementation techniques.
From there, I gradually expanded the range of things I could design and build myself: AI-assisted asset creation, rule-based AI, enemy behavior using raycasts, controls that change according to where the player clicks, and game balance adjustments.
At the same time, with every new project, I became more aware that being able to implement something and being able to make an enjoyable game are not the same thing.
The three biggest lessons I learned were:
Decide the core of the game and the scope of the finished project before starting development.
Ask other people to play the game and listen to their objective feedback.
Before adding more features, consider whether they will genuinely make the game more enjoyable.
As I prepare to release a game for iOS, I expect that I will need to consider even more than the enjoyment of the game itself. I will also need to think about the existing market, the target age group, game design, and how the game will generate revenue.
My past failures will not immediately tell me the correct answer.
Even so, completing seven games and looking back at the parts that did not go well should give me something valuable to carry into my next project.
I want to keep experimenting and making mistakes as I work toward creating a game that I genuinely find enjoyable.
 Yuto NagataStudent developer from Nagano writing about web development, Unity, and travel.